Landmark HOME
 Students use a folder and tracking sheet
Parents can participate at home to help the students!
These are suggestions for classes new to the Landmark Project.
There are many ways to manage this activity, and I want to share how my grade 4 class participated.
Class Teams: Each participating class usually has one team known to the project, for example, my class would be called Team Smith. (Some classes have more than one team with different names and each of those teams would have its own landmark and clue set.)
In my classroom, I created several groups of kids with a good lead person in each group as the Captain. I have groups 1, 2, 3, 4, and 5, and among these groups, I divide up all of the landmarks among them to make the searching more manageable. For example, if there are 25 landmarks, I would do as follows. Each group is responsible for working on 5 landmarks.
Group 1: Landmarks 1-5
Group 2: Landmarks 6-10
Group 3: Landmarks 11-15
Group 4: Landmarks 16-20
Group 5: Landmarks 21-25
…. and so forth depending on the actual number of Landmarks.
Organizing Student Groups:
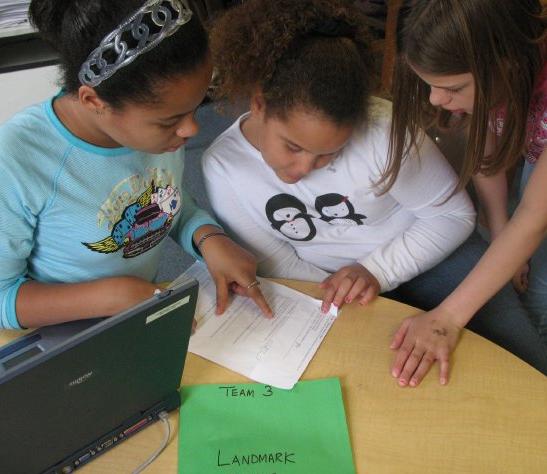
I have each of the groups keep a folder of the school landmarks they are searching for as well as the questions they send out each week and the answers they receive. See EXAMPLE WORKSHEET below. Group 1, for example will have work sheets listing only their schools 1-5. As the project proceeds, the groups track their answers and write down what they are finding in research to help locate the unknown landmark. The key is keeping a good folder of information – I usually have the group Captain keep the folder. We do Landmark officially about 3 times each week in class (at least 1 hour), and then in any other spare moments when kids finish their work. Some classes do this during computer lab time.
All clues from Landmark players 1-5 would be kept in the Group 1 folder.
All clues from Landmark players 6-10 would be kept in the Group 2 folder.
All clues from Landmark players 11-15 would be kept in the Group 3 folder. …and so forth.
Over the 3-week period, some groups might begin helping other groups as needed.
At the end of week 3, the folder should contain all of the Final Guesses to be sent into the project. Remember, we do not send guesses during the game, we only send email questions that can be answered with a YES or a NO. And we always identify ourselves (from Team Smith) when we communicate.
Example Tracking Sheet
This is an example sheet that the following group of four students used to track the questions they sent out and the answers that return. The Captain keeps the information sheet in a folder. The folder also contains the Clues from each team. Students work together on the clues sent in by these schools. After serious thought, they agree on a question to write. The question is emailed, and when the answer returns, students mark if it was answered YES or NO.
***The following sheet only shows three of the schools assigned to this group. I usually divide up all of the Clues such that each of my groups had 3 to 5 schools to contact and track. All emails were done through my account, but teachers do this as best works for their class. As email responses came in, I would distribute the info to the appropriate team to put in their folders.
Group 1: Captain Kayla, Tom, Jessica and Andy (Schools 1-5)
(1) Anabskaya School – Team Tarasevich – Aban, Russia
Week 1 question:
—————————————————————————-(Yes/No)
Week 2 question:
—————————————————————————-(Yes/No)
Week 3 question:
—————————————————————————-(Yes/No)
The Landmark is:
————————————————————————
(2) Alconbury School– Team Winters – Huntingdon, England
Week 1 question:
—————————————————————————-Yes/No)
Week 2 question:
—————————————————————————-(Yes/No)
Week 3 question:
—————————————————————————-(Yes/No)
The Landmark is:
————————————————————————-
(3) Eugene Field Elementary – Team Huseman – Hannibal, MO
Week 1 question:
—————————————————————————-(Yes/No)
Week 2 question:
—————————————————————————-Yes/No)
Week 3 question:
—————————————————————————-(Yes/No)
The Landmark is:
————————————————————————
Note: Copy this format and use with your student folders.
